Why Repotting Indoor Plants is Important
Repotting indoor plants is a crucial aspect of plant care that ensures your plants have enough room to grow, access to fresh nutrients, and protection from issues like root rot or soil compaction. Over time, the soil in your plant’s pot can become depleted of nutrients, making it harder for the plant to thrive. Additionally, as plants grow, their roots may become crowded, which can stunt their growth or cause other problems.
When should you repot indoor plants? Most indoor plants need to be repotted every one to two years, depending on their growth rate and size. Signs that your plant needs repotting include:
- Roots growing out of the drainage holes
- The plant becoming top-heavy or leaning
- Stunted growth or yellowing leaves
- Water running through the pot quickly without absorbing
Repotting gives your plant fresh soil that is rich in nutrients and allows its roots more space to expand. This helps promote healthier growth, stronger roots, and better overall plant health.
Learning how to repot indoor plants is essential for keeping your houseplants healthy and thriving. It may seem intimidating at first, but with the right knowledge and tools, it’s a straightforward process that can make a huge difference in your plant’s well-being.
When is the Best Time to Repot Indoor Plants?
Timing is important when it comes to repotting indoor plants. In general, the best time to repot most houseplants is during the growing season, which is typically spring and summer. During this time, plants are actively growing, and repotting them allows them to adapt to their new environment more easily.
Signs Your Plant Needs Repotting:
- Roots Coming Out of the Pot: If you notice roots poking through the drainage holes or circling around the pot’s surface, it’s time to repot your plant. This is a clear sign that the plant has outgrown its current pot.
- Slow Growth or Wilting: Plants that seem to have stopped growing or are wilting, despite proper care, may be root-bound. Repotting can give them the space they need to thrive.
- Watering Issues: If water rushes through the pot too quickly or pools at the top of the soil without absorbing, this may indicate that the soil has compacted or the roots have filled up the pot, preventing proper hydration.
For indoor plants, the spring and summer months offer the best conditions for repotting, as the warmer temperatures and increased sunlight help the plant recover from the stress of being moved. Avoid repotting in the winter when plants are dormant, as this can interfere with their natural growth cycle.
Choosing the Right Pot for Repotting Indoor Plants
Selecting the right pot is an important step in the repotting process. A new pot should be large enough to give the roots room to grow but not so large that the plant becomes overwhelmed by the extra space. A pot that’s too big can lead to overwatering, as the soil may retain more moisture than the plant needs.
Key Considerations When Choosing a Pot:
- Size: Choose a pot that is 1-2 inches larger in diameter than the current one. This gives the plant room to grow without the risk of water retention issues.
- Drainage: Pots with drainage holes are essential for healthy plants. Without proper drainage, water can accumulate at the bottom of the pot, leading to root rot. If you prefer decorative pots without drainage, consider placing a plant in a plastic nursery pot with drainage holes inside the decorative pot.
- Material: Pots come in various materials, such as terracotta, plastic, and ceramic. Terracotta pots are porous and allow for better airflow, which is ideal for succulents and cacti. Plastic pots retain moisture longer, making them suitable for plants that require consistently moist soil.
Choosing the right pot will ensure your plant has a healthy environment to thrive in, with the appropriate balance of air, water, and space.
Preparing Your Indoor Plant for Repotting
Before you begin the repotting process, it’s essential to prepare both your plant and your tools to ensure a smooth transition. Repotting can be stressful for plants, so taking a few precautions will help reduce the risk of damage.
Steps to Prepare for Repotting:
- Water the Plant: Watering your plant the day before repotting makes it easier to remove from the current pot. The soil will hold together better, and the roots will be more flexible, reducing the risk of breakage.
- Choose the Right Soil: Select a potting mix that suits your plant’s needs. For example, succulents and cacti require well-draining soil, while tropical plants like ferns prefer a moisture-retentive mix. Using the right soil ensures your plant has the nutrients and drainage it needs to thrive in its new pot.
- Clean Your Tools: Using clean tools, such as pruners or gardening shears, helps prevent the spread of diseases. Sterilize your tools with rubbing alcohol before using them to trim roots or cut away dead foliage.
Once your plant and tools are ready, you can move on to the repotting process. Proper preparation is key to ensuring a successful repotting that promotes healthy growth.
How to Remove a Plant from Its Pot
Removing a plant from its current pot can be tricky, especially if the plant is root-bound or the soil is compacted. However, with the right technique, you can safely remove the plant without damaging its roots.
Steps to Safely Remove a Plant from Its Pot:
- Loosen the Soil: Gently tap the sides of the pot to loosen the soil and roots. If the plant is root-bound, use a butter knife or a plant tool to carefully run along the edges between the soil and the pot.
- Support the Plant: Turn the pot sideways and support the plant’s base with one hand while gently pulling the pot away with the other. Avoid pulling the plant by its stem, as this can cause damage.
- Check the Roots: Once the plant is out of the pot, inspect the roots. If they are tightly wound around each other, gently tease them apart. If you see any black, mushy, or rotten roots, trim them off with sterilized scissors.
Taking care when removing your plant from its pot will help prevent damage to the roots and prepare it for its new pot and fresh soil.
Trimming Roots When and How to Do It
Root pruning is sometimes necessary when repotting indoor plants, especially if the plant has become root-bound or has damaged roots. Trimming the roots allows the plant to redirect its energy toward new growth and prevents issues like overcrowding in the pot.
How to Trim Roots During Repotting:
- Inspect the Roots: Once you’ve removed the plant from its pot, inspect the roots for any signs of damage or decay. Healthy roots are white or light brown, while damaged roots will appear black or mushy.
- Cut Away Dead or Rotten Roots: Using sterilized scissors or pruners, trim away any dead or decayed roots. This prevents the spread of disease and encourages healthy growth.
- Tease Apart Rootbound Plants: If your plant is root-bound, with roots tightly circling the bottom of the pot, gently tease them apart with your fingers. If necessary, you can trim a small portion of the outer roots to encourage new growth in the fresh soil.
Trimming the roots ensures that your plant has enough room to grow and helps promote a healthier root system in its new pot.
Choosing the Right Soil for Repotting Indoor Plants
The type of soil you use is just as important as the pot you choose when repotting indoor plants. Different plants have different soil needs, so selecting the right potting mix will ensure that your plant receives the right balance of nutrients, water, and drainage.
Types of Potting Soil for Different Plants:
- Succulents and Cacti: These plants prefer a fast-draining soil mix that contains sand, perlite, or pumice. This prevents excess moisture from accumulating around the roots, which can lead to rot.
- Tropical Plants: Tropical plants like ferns and peace lilies prefer soil that retains moisture while still allowing for proper drainage. A mix that contains peat moss or coco coir is ideal for these plants.
- Orchids: Orchids require a special type of soil mix that allows air to circulate around their roots. An orchid mix typically contains bark, charcoal, and perlite.
Using the right potting soil is essential for ensuring your plant’s long-term health and success after repotting.
How to Place Your Plant in Its New Pot
After preparing your plant and soil, it’s time to transfer the plant into its new pot. Proper placement is key to ensuring the plant adapts well to its new environment and continues to grow.
Steps to Properly Pot Your Plant:
- Add Fresh Soil: Place a layer of fresh potting mix at the bottom of the new pot. This will serve as the base for your plant and provide room for the roots to grow downward.
- Position the Plant: Place your plant in the center of the pot, making sure it sits at the same depth as it did in the previous pot. The top of the root ball should be about an inch below the rim of the pot.
- Fill with Soil: Gently fill the remaining space with fresh soil, making sure to fill in around the root ball. Press the soil down lightly to remove air pockets but avoid compacting it too much, as this can restrict root growth.
Once the plant is securely in its new pot, water it lightly to help settle the soil and encourage root growth.
Post Repotting Care What to Do Next
After repotting your indoor plant, it’s important to provide proper care to help it adjust to its new environment. Repotting can be stressful for plants, so taking extra care in the days following the process will ensure they recover and continue to thrive.
Post-Repotting Care Tips:
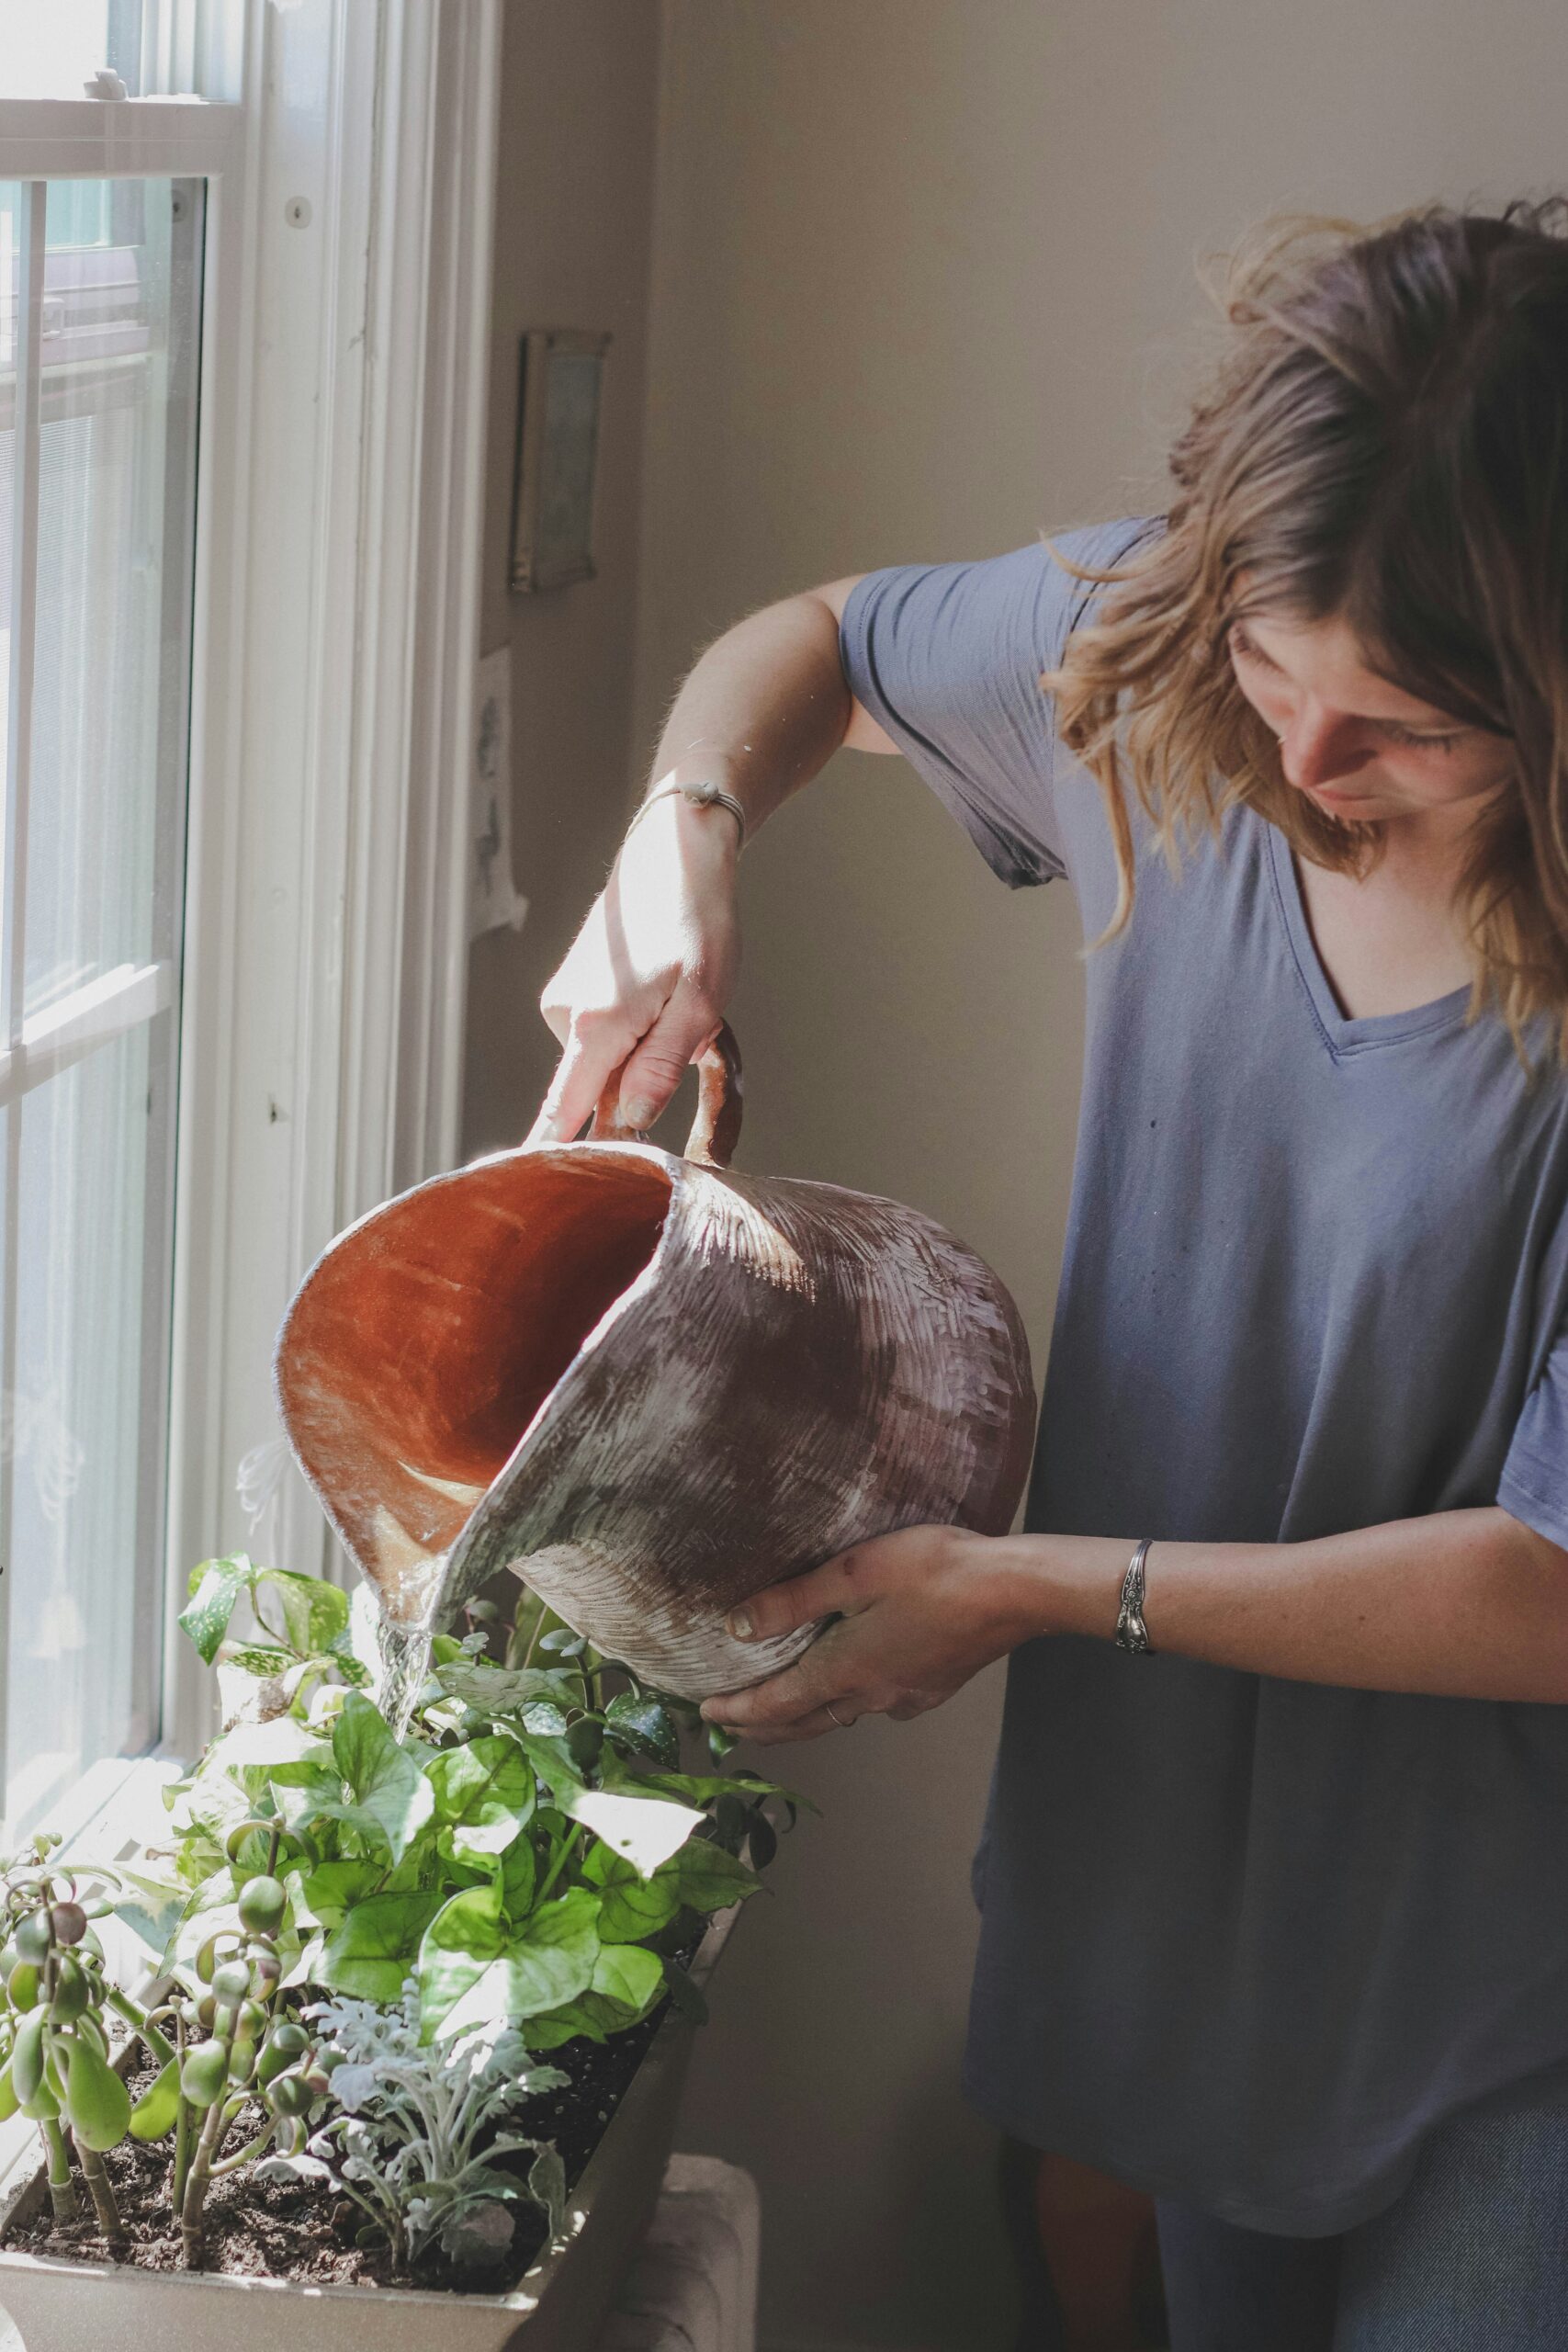
- Watering: Water your plant thoroughly after repotting to help settle the soil. However, avoid overwatering, as the roots may need time to adjust to their new space.
- Light: Keep your plant in a location with indirect light for a few days after repotting to reduce stress. Avoid placing it in direct sunlight, as the plant may be more sensitive immediately after repotting.
- Monitor for Stress: Keep an eye on your plant for signs of stress, such as wilting or yellowing leaves. Some plants may take a few weeks to fully adjust to their new pot and soil.
By providing the right care after repotting, you can help your plant establish itself in its new pot and encourage healthy growth.
Common Mistakes to Avoid When Repotting Indoor Plants
While repotting is an essential part of indoor plant care, it’s easy to make mistakes that can negatively impact your plant’s health. By avoiding these common errors, you can ensure a successful repotting process.
Common Repotting Mistakes:
- Using a Pot That’s Too Large: Choosing a pot that’s too big can lead to overwatering, as the soil will retain too much moisture. Always opt for a pot that’s just 1-2 inches larger than the current one.
- Not Using Fresh Soil: Repotting your plant into the same old soil won’t provide the nutrients it needs. Always use fresh potting mix to give your plant the best chance to thrive.
- Overwatering After Repotting: Plants are more sensitive after being repotted, so it’s essential not to overwater them. Water lightly and allow the plant to adjust to its new environment.
By avoiding these mistakes and following the step-by-step guide for repotting indoor plants, you’ll help your houseplants grow stronger and healthier in their new pots.
One thought on “How to Repot Indoor Plants A Complete Step by Step Guide”